Getting Started with JetBackup Storage Bucket in 3 Easy Steps
JetBackup Storage makes it simple to secure your WordPress site. Follow these quick steps to connect your JetBackup Storage Bucket to JetBackup for WordPress:
Method 1 — Set Up JetBackup Storage Using a Quick Access Code (Recommended)
The Quick Access Code is the fastest way to connect your WordPress site to JetBackup Storage. It provisions a new storage bucket (or links an existing one) and configures the destination for you in just a few clicks.
Step 1: Create the Destination
- Open the JetBackup plugin in your WordPress dashboard.
- Go to Destinations and click Create New Destination.
- Select JetBackup Storage from the destination type dropdown.
- Click the "Claim your free 2GB of Storage now" button. A popup will be displayed.
- Login to your billing.jetbackup.com account. If you have not already done so, you can also create a new account.
Step 2: Order the JetBackup Storage Service
1. Follow the prompts to either provision a new JetBackup Storage bucket or connect an existing one. Be sure to select a geographically close Region to your hosting for best performance.
2. Paste the Quick Access Code and click Save to finish creating the destination.
3. You're done! You can now go to the "Backup Jobs" page and create a new job for your JetBackup Storage destination.
Alternatively, go to "Backup Jobs", Manage the Default Job, and click the Toggle to enable your JetBackup Storage destination. We also recommend enabling a schedule for automated backups!
Method 2 - Set up JetBackup Storage as S3-Compatible Destination
Step 1: Log in to the JetBackup Client Area
Start by logging in to your JetBackup Client Area where your storage bucket is managed.
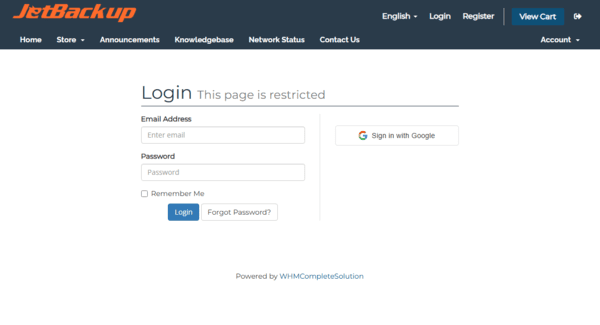
Then navigate to the Services Tab > My Services. You should see a list of Services associated with your account. Select your JetBackup Storage for WordPress Product to view your Bucket's Produc Page.
Step 2: Copy your Bucket Information & Access Keys
Once you're logged in:
- Navigate to the Services Tab > My Services. You should see a list of Services associated with your account. Select your JetBackup Storage for WordPress Product to view your Bucket's Product Page.
- Locate and note the following details:
- Bucket Name
- Access Key
- Secret Key
- Region/Endpoint
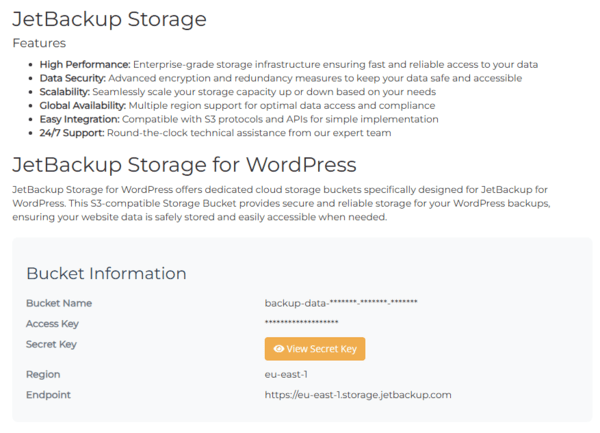
⚠️ Important:
Your Secret Key is only viewable once. Be sure to copy and store it in a secure location — you’ll need it in the next step.
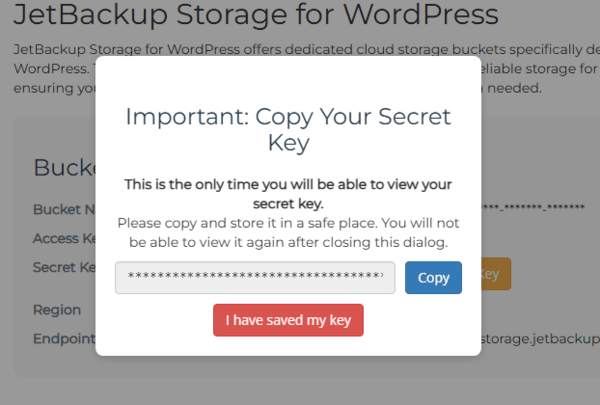
Step 3: Connect JetBackup for WordPress
In your WordPress dashboard:
- Navigate to:
JetBackup > Destinations > Create New Destination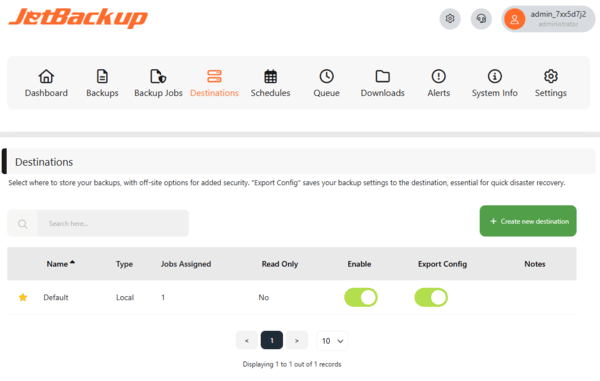
Under Destination Type, select JetBackup Storage.- Fill in the following fields:
-
Endpoint:
https://[region].storage.jetbackup.com
(Replace[region]with the one shown in your Bucket Info) -
Bucket Name:
(From Step 2) -
Access Key / Secret Key:
(From Step 2)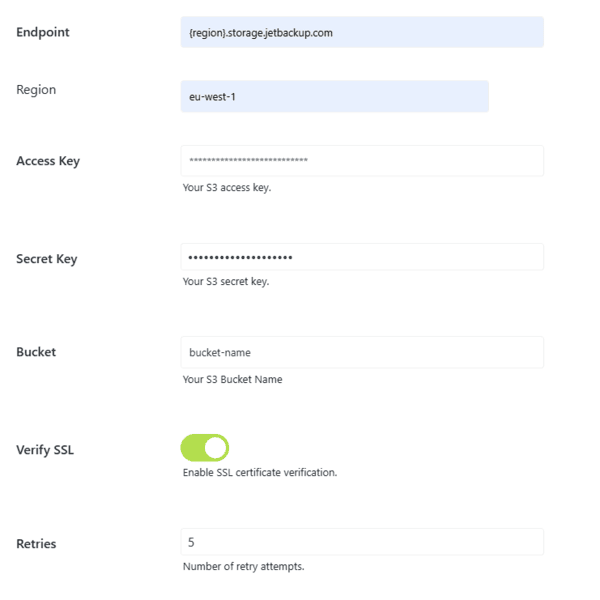
-
- Click Save.
✅ That’s it!
You’re now ready to start backing up and protecting your WordPress site using JetBackup for WordPress and your JetBackup Storage Bucket.
Need help? Contact our support team anytime.